Make Your Own Protein Bars At Home. So Many Flavor Combinations: Recipes Below!
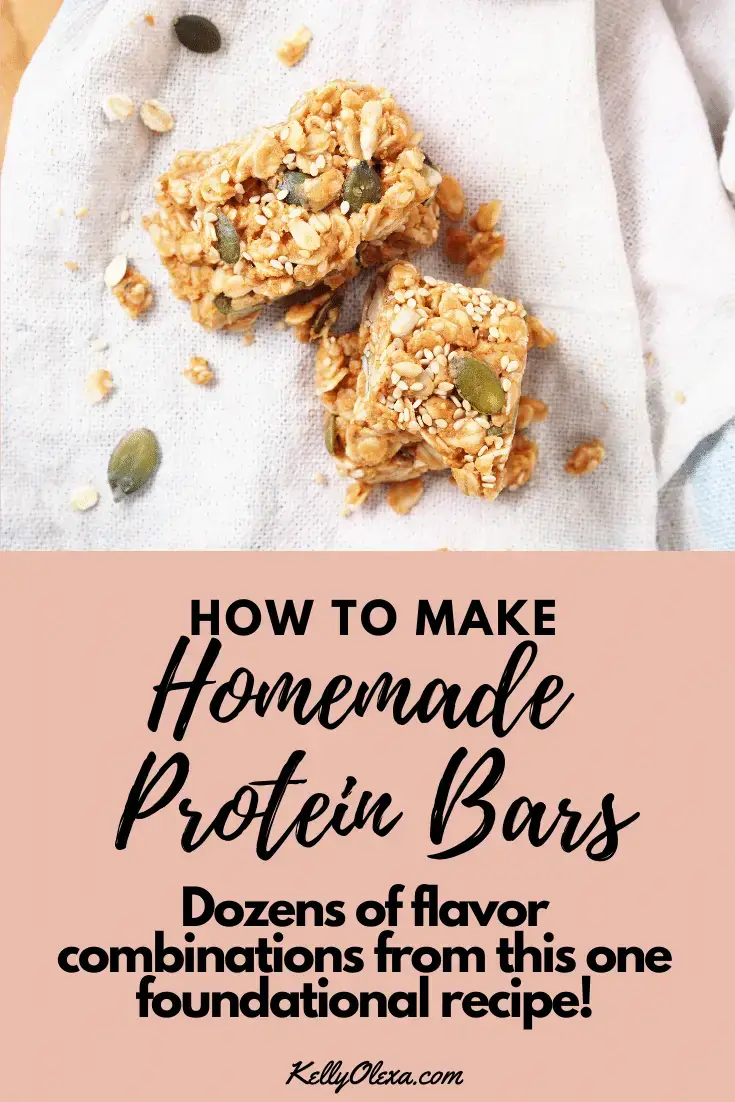
Do you struggle getting enough protein in your diet? Do you have a lot of tubs of protein powder to use but no idea what to do with it? Do you NOT love the idea of chugging protein shakes all day?
Well, you might want to consider making some of these delicious and clean (NOTE: not calorie free- please please please be sure you calculate your nutrition info so you can hit your caloric window and not exceed it!) protein bars (or other protein recipes I have linked at the bottom)–homemade protein bars: they are sweet, portable, and there are so many flavor and texture combinations, you are set for variety….I can’t wait to hear some of your tweaks on this homemade protein bar recipe!
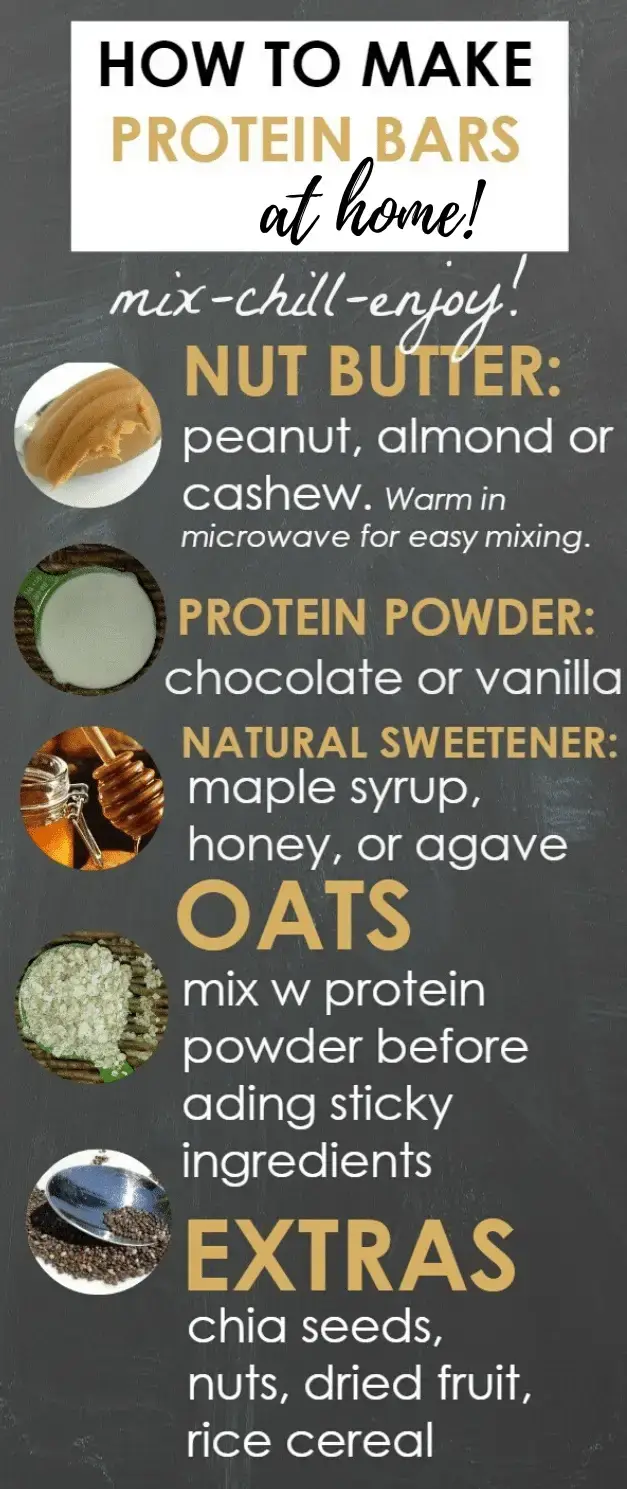
Protein bars can be made at home with just a few ingredients (you probably already have most in your pantry!). As with protein bites, you can customize them to your taste. The best part is – these bars are not an exact science! So, no pressure! There’s no such thing as a batch that didn’t turn out right. Just play around with the ingredients and flavors to find what you like best.
For a Basic batch of Protein Bars:
Dry ingredients:
1) 2 cups whey protein powder (vanilla or chocolate work best– I’m happy to make recommendations for you and you can order solid whey protein from me if you need help just email me kelly@kellyolexa.com) For today’s recipe I used chocolate whey protein.
2) 1 cup of dry oats (I used Bob’s Red Mill Gluten Free Old-Fashioned Oats. Once I did some reading about Quaker Oats containing massive amounts of roundup in them– and after getting BAD stomach-aches having said oats in the morning — and then the stomach aches stopping when I removed the said oats– I upgraded to cleaner oats. Don’t get me wrong- I get it, they are significantly more expensive, but come on- do you want to consume pesticides every day in your oats?)
Sticky ingredients:
1 3/4 cups of the nut butter of your choice (I used Justin’s Almond Butter— next time I’m going for the Justin’s Peanut Butter– personal preference)
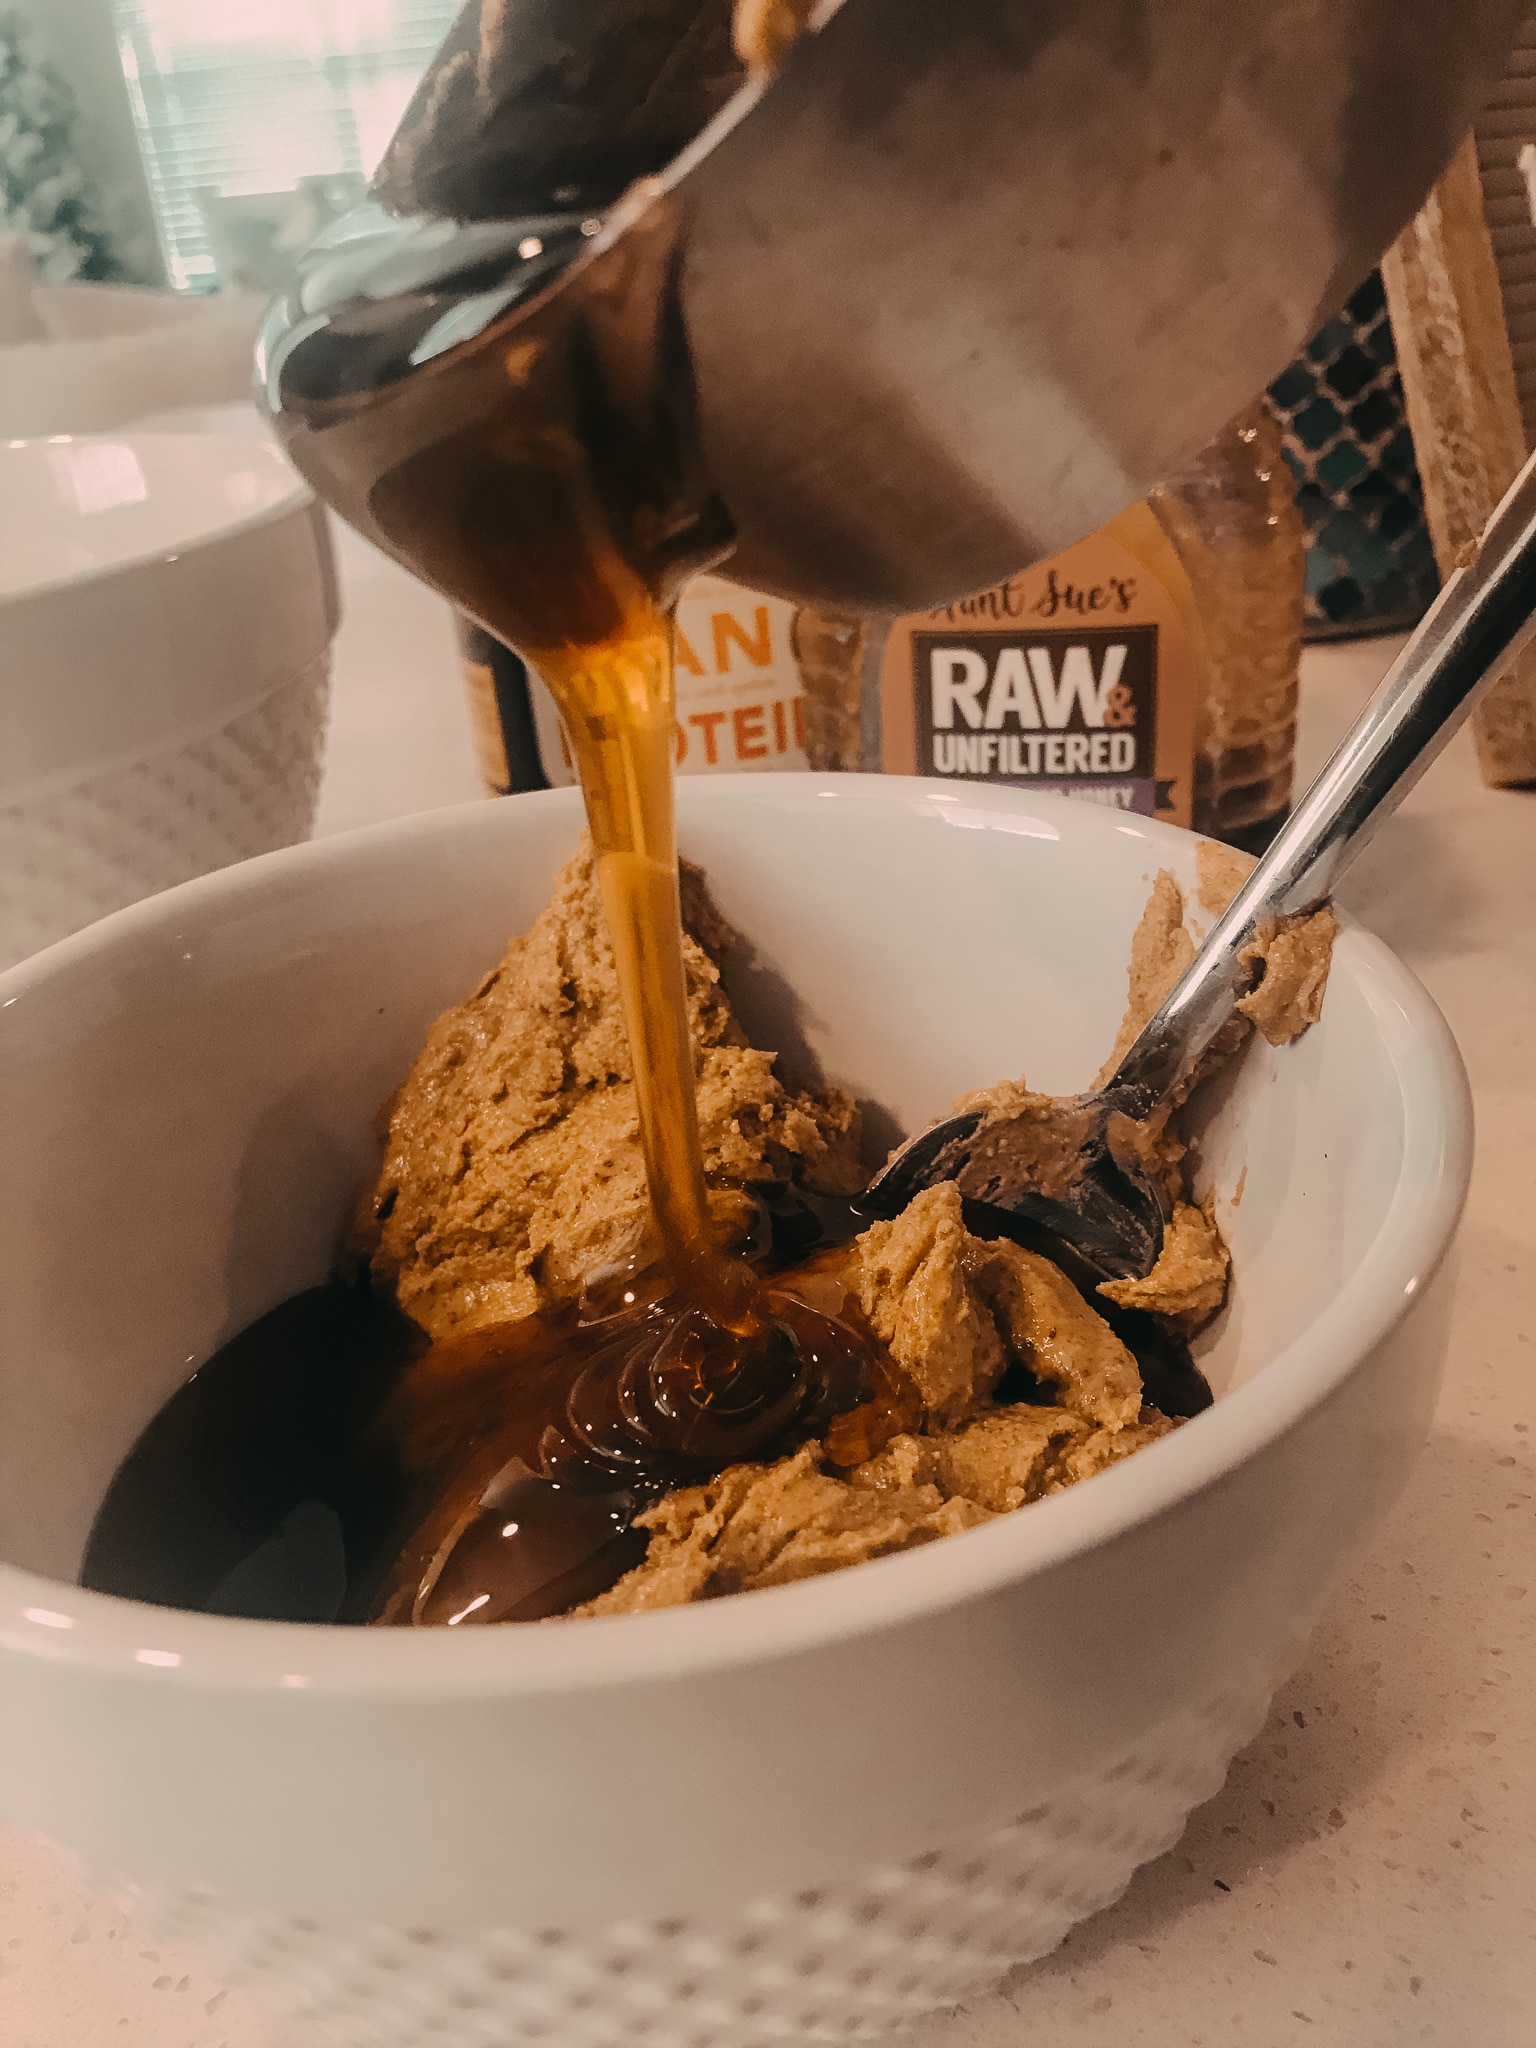
1 1/3 cup of honey ( currently obsessing over this honey right now) – or another sticky sweetener

Directions– mix together dry ingredients and set aside.

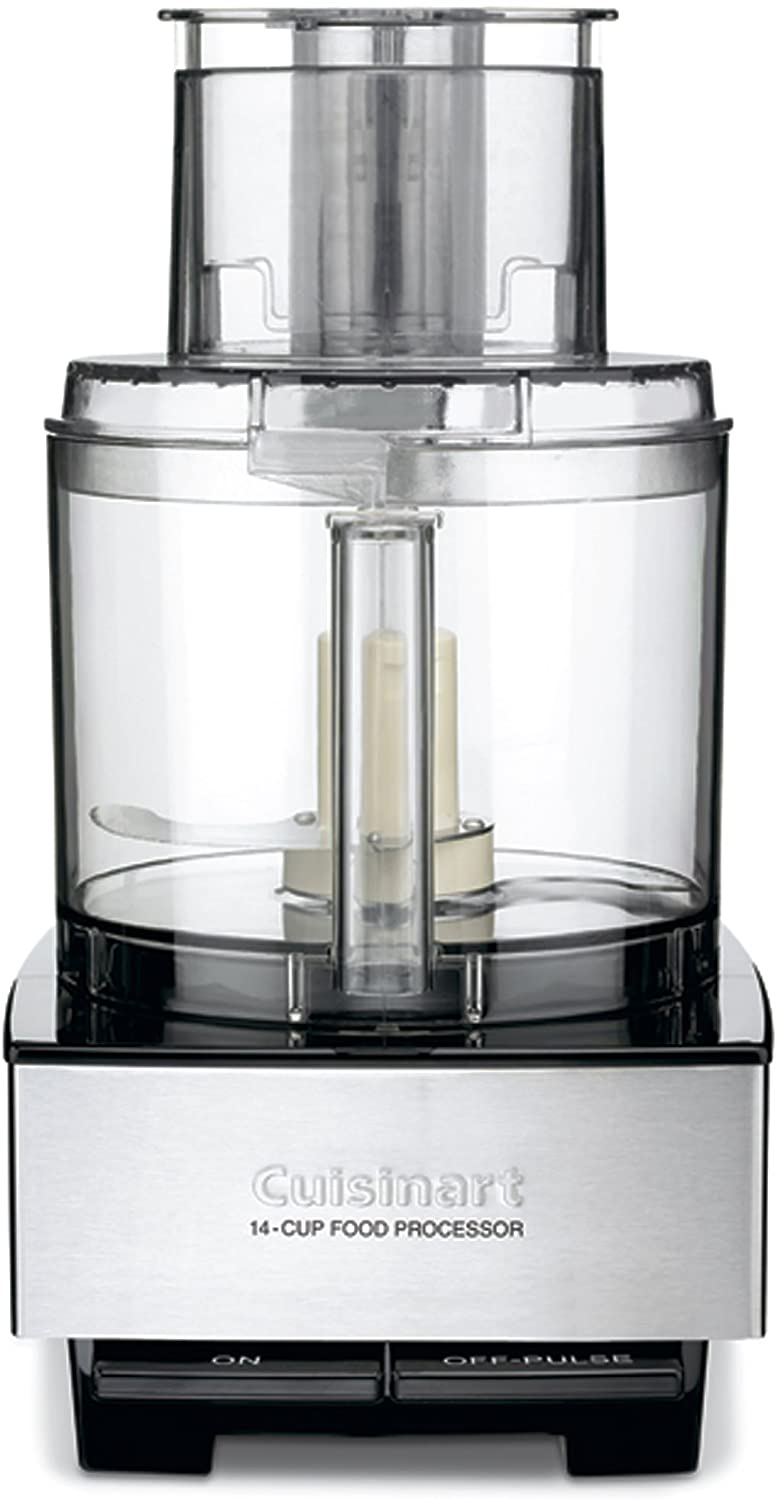
Microwave the nutter butter and the sticky sweetener for about 10 seconds to make for easier mixing. (Please be careful and don’t be an idiot like me and put the jar of almond butter in the microwave- mine sparked and almost exploded good times) Blend together the sticky sweetener and nut butters. I recommend using your food processor. It’s funny, because when I moved from Chicago to Austin- I sold a TON of my old STUFF- I wanted to start fresh with new furniture and everything– plus, less to move (so I thought: good grief the size of my moving truck AFTER selling a lot of my stuff was massive! But I digress, I still am so glad I purged and started fresh in Texas.) I remember offering my Cuisinart Food Processor for sale but it didn’t sell. I’m so glad I didn’t sell it because let me tell you- now that I make these types of recipes and now that both the man and I cook a lot together- I am telling you- I use the food processor now more than I ever have in my life!!
Here’s a link for you in case you don’t have one– CLICK HERE to the one I have and you can check around to view other brands as well.
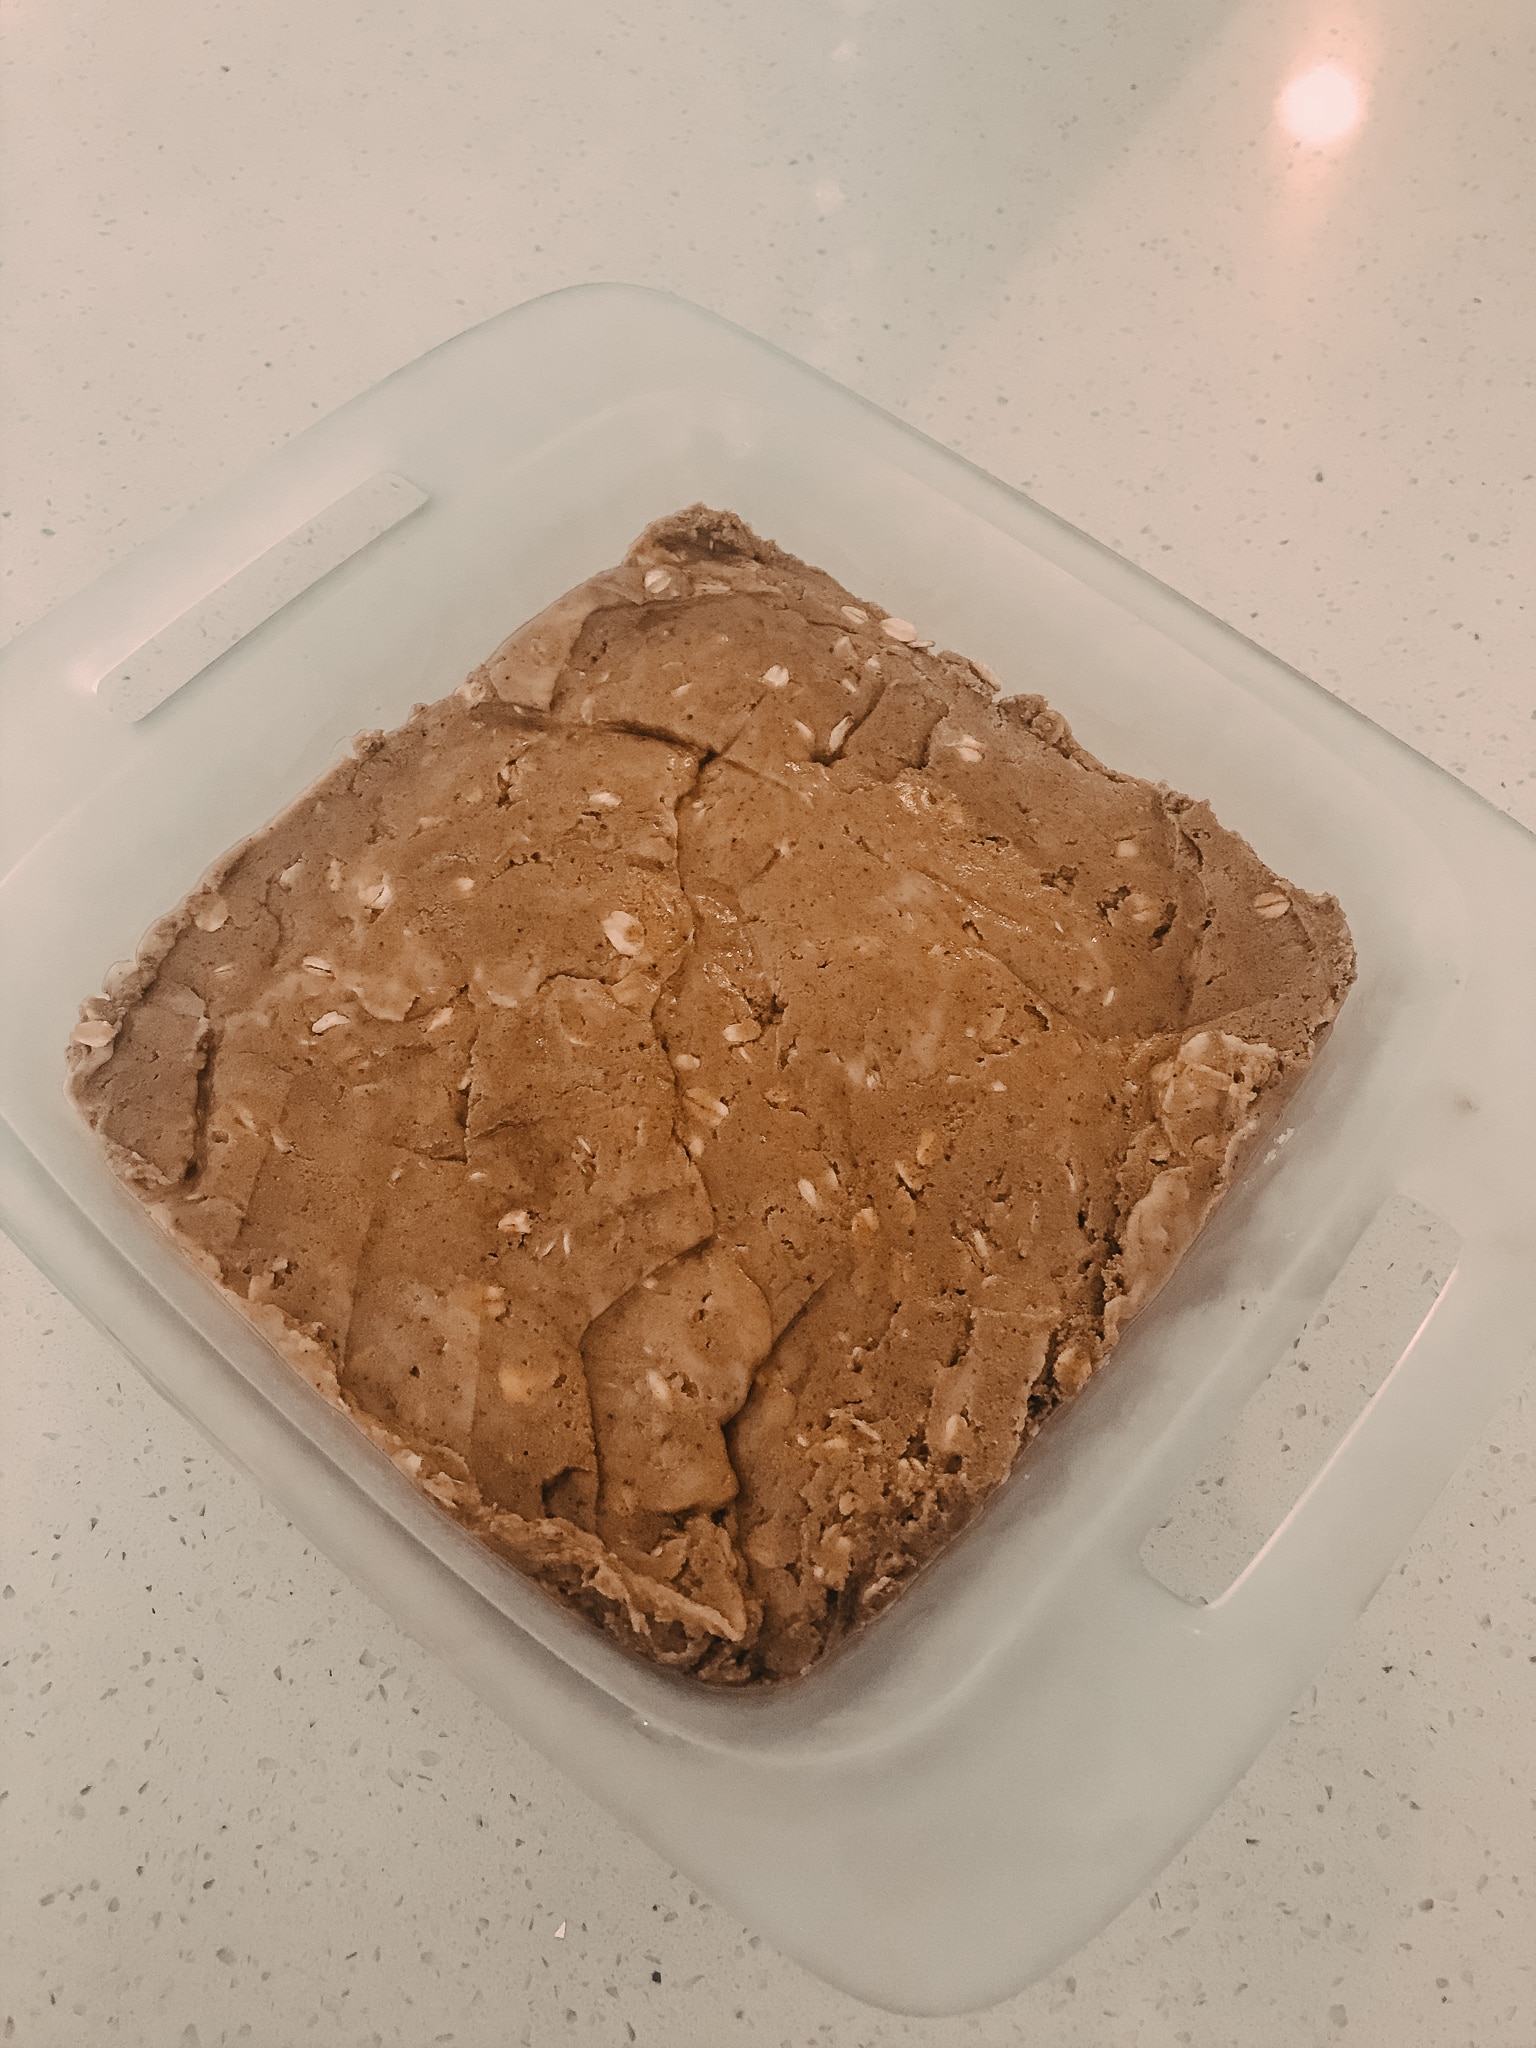
Now combine the dry and wet ingredients. If you find it too loose and not mixing well, add a tablespoon of water or even almond milk, more if you need it. Conversely, if it’s too wet of a mixture, then add a bit more of the dry ingredients. You get the idea. It’s trial and error – and you may like a slightly different consistency to your bars then the next person. Spread the mixture into a square baking dish and chill overnight. This recipe makes about 20 bars (square sized). NOTE: I put this into a 9×9 pan and the bars are TALL/THICK. See below- the ingredients came all the way up to the top I am going to try making these in a longer rectangle pan and make flatter bars. You’ll also see a version of this recipe coming up so you can make protein balls out of it as well.
If you’re adding extras, like chia or flax seeds, or dried fruit, you’ll add those to the sticky ingredients and prior to combining with the dry ingredients. After making this recipe, I’m thinking for my next go-round I’ll use VANILLA WHEY PROTEIN plus PEANUT BUTTER vs. almond butter. I also plan to try adding some white chocolate chips (being sure to measure the chips so I can calculate the macros and count the calories) with some coconut flakes. MMMMM.
Word to the wise- these bars are not a low calorie snack. Watch your portion size – and keep them in mind for a great post workout or post run snack. Experiment and enjoy! If you liked this post, it’s likely you’ll want to check out this post with recipes for DELISH protein balls. CLICK HERE. And I’m fairly certain you’ll be drooling once you check out my post on sweet tooth satisfaction- clean healthified versions of desserts and snacks– CLICK HERE.
If you are tuning in here and seeing me talk about counting calories and caloric deficit, and you are like HOLY HELL KELLY why you sharing sweet recipes like this when I’m supposed to count calories? I am happy to help you with a customized diet plan and/or workout plan to help you get where you want to be. I start new private groups for a small group of women I can personally coach each month. Email me if you want more information on group coaching experiences with me or private coaching! kelly @ kellyolexa.com or just use the Contact Me form.
AFFILIATE DISCLAIMER
Note: this blog contains affiliate links that allow you to find the items mentioned in this post and support this channel at no cost to you. While this channel may earn minimal sums when a viewer uses the links provided, the view is in NO WAY obligated to use these links. Thank you for your support.

this is good stuff I have a friend who makes her own chocolate car sugar-free and I’m sure she will love to read this so I will pass it to her
thanks!!